
Blaziken Pokkén Tournament DX Guide
This guide is sponsored by streamtechreviews.com. Please check them out!
- Overview
- Attributes
- Move list
How to play Blaziken in Pokkén - Overview
Blaziken is a high damaging character that excels at rushdown. Its defensive options and poking abilities are far below average, but it compensates with its whiff punishment and pressure. It is one of the few characters in the game that can consistently get frame advatange or +/- 0 on block with ease. It also has one of the few i11 moves (2Y) that can also function as a full combo starter. Blaziken’s Pokémon moves can be held down to get enhanced or “EX” versions of them. These deal recoil damage to Blaziken, but like Shadow Mewtwo, it is heavily reliant on these recoil dealing attacks.
Attributes
(From Shoryuken)
HP: 600 HP
Synergy Gauge: 150 CC
Burst Duration: 14 seconds
Move list
Pokémon Moves
Blaze Kick 6A
i15, -8 on block. First hit is mid-high, second hit is high. Unenhanced Blaze Kicks is mostly useless, but it deals no recoil, so it can end duel phase combos that already have heavy scaling to preserve HP. I use the common terms “normal” or “EX” to differentiate between the versions of Blaziken’s Pokémon moves througout this. Normal Blaze Kicks does not combo into Flare Blitz.
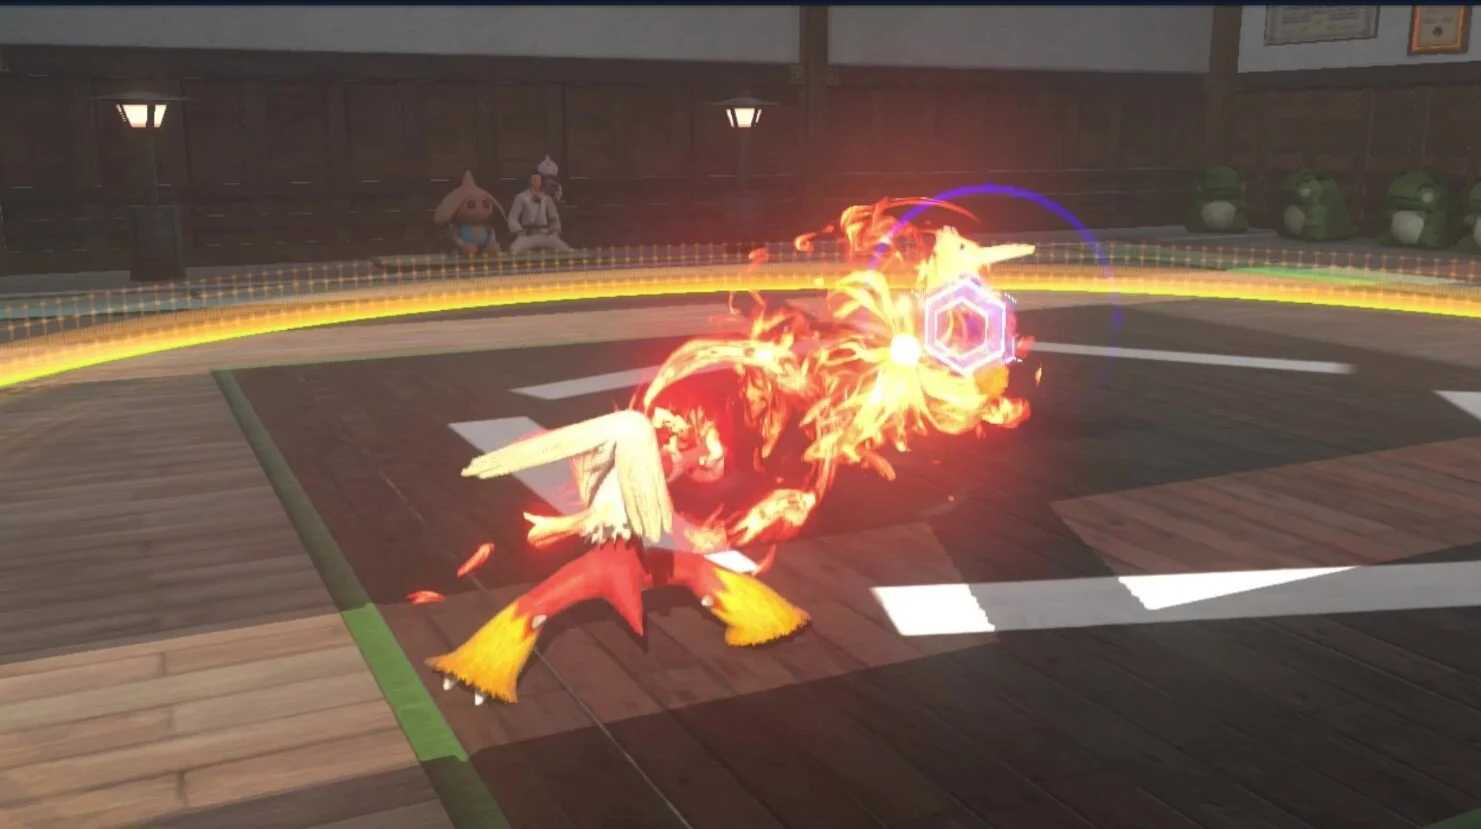
Blaze Kick 6[A] (enhanced)
i15, 0 on block. +8 on hit. 30 damage recoil. First hit is a mid-high, second and third hits are high. There is a gap between the first and second hit on block. This is a high damaging preemptive attack that does lots of shield damage, and it also functions as Blaziken’s best whiff punisher when canceled into Flare Blitz. In duel phase, this attack can be situationally punished my most characters by ducking after the first hit is blocked and then whiff punishing the final hit. This becomes more of a weighted guess than a consistent punish when you start adding in Flare Blitz cancels. Only a few characters get guaranteed punishes in duel phase against all variants. Even less so in field phase, since you can’t duck there.

Field Phase normal Blaze Kicks

Duel Phase normal Blaze Kicks

Field Phase EX Blaze Kicks

Duel Phase EX Blaze Kicks
Flare Blitz 6AX
-16. Mid-high. Armor pierce. A followup to Blaze Kicks that can be canceled into after the first hit. The normal version is -16 on block which can vary based on distance and timing. It has some red armor while starting up. This move has several uses:
-canceling from Blaze Kicks on reaction to armor to pierce it as quickly as possible.
-hit confirming from field phase. This move does the same damage as the enhanced version in field phase.
-yeet.
Flare Blitz 6A[X] (enhanced)
-8. Mid-High. Still armor pierces.The EX version of this move is safe on block, but as a mid high is still susceptile to getting anti-aired. It starts up slower than normal Flare Blitz, and it has less red armor, but does more damage in field phase. The recoil is increased from 20 to 60 compared to the normal version. Since EX Blaze Kicks is needed to combo into this, the total recoil for using this 6[A][X] is 90! Its main advantage is that it is safe on block. This makes it a good preemptive check against armor without being unsafe on block. Highly abuseable in Burst in duel phase since it cannot be anti=aired by 8Ys due to light armor.

Field Phase normal Flare Blitz

Duel Phase normal Flare Blitz

Field Phase EX Flare Blitz

Duel Phase EX Flare Blitz
Brave Bird 4A
i39, +4. Reactable, mostly used for repositioning after a duel phase wall blast.
Brave Bird 4[A] (enhanced)
i27 +4. 40 damage recoil. Decent grab crush, but way slower than 2Y or homing attack. Aerial frame 1. Overall, I don’t use this move that much.

Field Phase Brave Bird

Field Phase EX Brave Bird

Duel Phase Brave Bird

Duel Phase EX Brave Bird
Heat Wave 5A
i23, -12. High. A slow moving projectile that doesn’t go very far. Seems good until you actually use it. Can be ducked on reaction before it reaches the opponent and has criminally long recovery.
Heat Wave 5[A] (enhanced)
i35, +4. Mid. This move can be held for full a short or full duration. The full duration does more damage, has more active frames, and causes an attack debuff for longer. The increased active frames allows this to be timed slightly after an opponent gets up to outlast the duration of almost all standard counter attacks in the game. This also outlasts most command counters, with the main exceptions being the ones that have no vulnerability frames between the armor and the startup and command counters with invincibility like Sceptile’s Detect and Weavile’s Taunt. I use this for a combo filler at the wall and as a meaty attack vs chronic mashers.

Field Phase Heat Wave

Field Phase EX Heat Wave

Duel Phase Heat Wave

Duel Phase EX Heat Wave
High Jump Kick jA
+4 at lowest height. 40 recoil on whiff. Not something I’ve found much use for, but it can get you frame advantage from the air.
High Jump Kick j[A]
variable frame data, leaves Blaziken airborne. 40 recoil. 40 more recoil on whiff. Counter pierce. Good meaty option when timed perfectly, but perfect timing also leaves it susceptile to being backdashed.

High Jump Kick Field

High Jump Kick Duel

EX High Jump Kick Field

EX High Jump Kick Duel
Sky Uppercut 8A
Duel Phase only. i19, -49. Has some projectile invincibility starting frame 1. Good combo ender at the wall and can go through certain Burst Attacks with perfect timing like Suicune’s.
EX Sky Uppercut 8[A]
Duel Phase only. i15. -51. 30 recoil. This move also has projectile invincibility, but it ends earllier than 8A (due to the different startups). This is a good wall combo extender. Leaves Blaziken airborne and able to act on hit, but not on block.

Sky Uppercut

EX Sky Uppercut
Field Phase Moves
sY
i23, -12. cancelable into fY. Situation confirmable from a distance. Low projectile priority, but decent keepout.

nY
i11, -3. Special cancelable and cancelable into fY. At far ranges, can combo into specials like Blaze Kicks.

fY
i23, -12. One of Blaziken’s only actual pokes in field phase. Easily side walked by most characters, but great for stuffing rush down attempts and catching backdashes. Pushback usually makes this safe on block.
bY
i27. Variable frame data, but about -16 point blank. This attack has some projectile invincibility. It’s too slow to use on reaction to most moves, but it has niche reactionary uses like against Libre’s wall bounce. This is mainly good once you’ve gained enough data on the opponent to cash in on a hard read against a projectile to win field phase.

jYY, jYX
Variable frame data. The jY by itself stuns on contact. Useful as a meaty attack, though I don’t have many setups for it myself. jYY is generally unsafe on block up close, but its frame data also varies. jYY does NOT shift. jYX is roughly -8 on block, but it depends on the active frame it connects. These are all very situational attacks with lots of whiff recovery.

jY

jYY

jYX
jsY
Variable frame data but up to about -37 on block. Yeet option for opponents not paying attention.

jX
Variable frame data. Fully charged is positive on block, and can supposedly go up to around +24 depending on the timing. Charged version pierces.

Homing Attack
i21. Pretty standard homing. The last hit has two parts which can catch many backdashes and evasion attempts. When done meaty, the first hit is safe vs many standard CAs.

Counter Attack
i31-i51 -8 uncharged, +4 charged. High. Functions the same in duel and field phase. Becomes a mid in burst. Knockdown on full charge.

Duel Phase
5YYY

5Y

5YY

5YYY
2Y
i11. -4. Low. This move is unique as it’s one of the few i11 moves that combos on normal hit in the game. This give Blaziken a legitimate tool to capitalize on its frame advantage. Unfortunately, as as low it can be jumped over frame 1 which is also the same option most people use to break grabs. Still, once you’ve established 6Y as a wall splat threat against jumps or you have data that the opponent likes to press grounded grab crushes, this move can net obscene damage.

8Y
i23. This move has upper body invincibility starting frame 5, but it’s a very underwhelming anti-air. The speed leaves it susceptile to whiffing or getting blocked after the opponent lands, and the hitbox often gets straight up beaten out by many jumps. It can be canceled into an air dash downwards to be safe on block if perfectly timed.

6Y, 6YY, 6YX
i11. The first hit is -12. 6YX is -16 and 6YY is -16. This move mainly is useful for stopping jumps out of the corner since 8Y won’t prevent them at all. This splats aerial opponents on the wall and can combo into EX Sky Uppercut for a full extension. Since the first hit is -12, 6YY was added as a check to grabs while still being safe on block. This attack can also be used as a whiff punisher and combo ender. It has many niche uses, so experiment.

6Y

6YY
6YX
5X
i19. Normal hit crumple stun. In any other game, this move would be godlike, but it’s a mid low that loses to command counters pretty hard. When timed properly it can be safe from all normal CAs in the game, however.

8X
i23. +4 on block,+8 on hit. Mid-high. Blaziken’s best poke in my opinion. This move is +4 on block and has just enough pushback to avoid grabs by walking back afterwards. On hit it’s +8 and leaves Blaziken much closer to apply mixups. You can still back up to avoid grabs with the extra frame advantage as well. 8X can be canceled into an air dash on hit, block, whiff, or even startup. This allows you to do jY at a much lower height than normal giving it even better frame advantage and even allowing for safe jumps against almost every reversal option in the game. On hit, 8X into an air dash jY cannot be anti aired by frame 5 upper body invincible 8Ys since it will become active before the invulnerability starts up. This move is not to be abused repeatedly in succession, but the threat of being able to do so can bait out whiffed anti air and armor attempts that you can punish hard.

2XX
i27. -12, -16. High crush frame 1. This move is really good for challenging Mewtwo Psycho Cut, Pikachu Libre Discharge, and highs in strings. 2XX leads to a full combo.

2X

2XX
6X, 6XX, 6XXX
i27, the first hit only combos on critical hit. -8, 0, -4.

6X

6XX

6XXX
jY
Variable frame data. Can combo into i15 or faster moves most of the time. This attack is useful as a safe jump after canceling 8X into an air dash. Can be canceled in mid air into an air dash.
jX
Variable frame data. Usually combos into i15 or faster moves. A good grab crush option that’s easier to aim than jY.

Burst Mode
Blaziken’s Burst Mode changes a few of its attacks hitboxes. 5Y, 5YY, 2Y have increased number of hits and hitstop. This allows you to situation confirm those moves into armor and cancel into Burst Attack. Blaziken’s Burst attack is +4 on block and gives it a speed up when used.

Burst 5Y

Burst 5YY

Burst 2Y